The scorching heat calls for innovative solutions to keep homes cool and energy efficient. Cool roofs offer a wide range of benefits tailored to hot climates. Here are the key points to consider:
- Importance of Cool Roofs: In a state known for its relentless heat, cool roofs act as shields, reflecting sunlight away and absorbing less heat compared to traditional roofing materials.
- Energy Efficiency: By reducing the amount of heat absorbed by the roof, cool roofs help maintain cooler indoor temperatures, easing the strain on air conditioning systems and leading to energy savings.
- Environmental Impact: Apart from economic benefits through reduced energy bills, cool roofs contribute to environmental sustainability by lowering greenhouse gas emissions and mitigating the urban heat island effect.
- Suitable Materials: A brief overview of popular roofing materials and coatings ideal for Texas homes will be discussed, focusing on their reflective properties and durability in withstanding the Texas heat.
Cool Roofs and Their Benefits to Texans
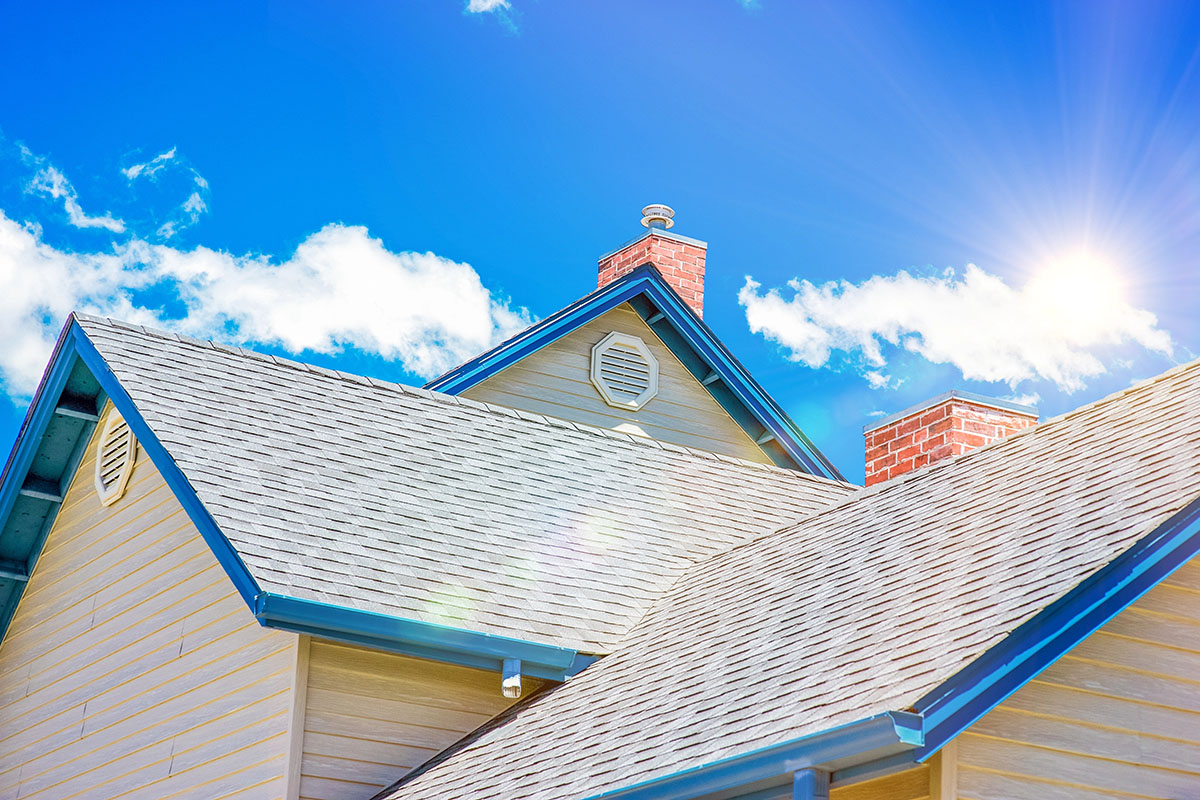
What is a cool roof?
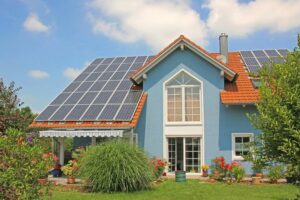
A cool roof is designed to reflect more sunlight and absorb less heat than conventional roofing materials. This reflection reduces the roof’s surface temperature, keeping your home cooler in the intense Texas sun. Cool roofs use specialized coatings or materials with high solar reflectance and thermal emittance.
Benefits of Cool Roofs
The benefits of cool roofs go beyond just keeping your home cool:
- Lower indoor temperatures: With reduced heat absorption, you can rely less on air conditioning systems, resulting in noticeable energy savings and lower utility bills.
- Longer lifespan for HVAC units: By decreasing the strain on heating, ventilation, and air conditioning (HVAC) units, cool roofs contribute to longer equipment lifespan.
- Mitigation of urban heat island effect: Heat reflective roofing materials in Texas help address the issue of higher temperatures in cities caused by extensive heat absorption by rooftops and pavement.
- Environmental sustainability: Reduced energy consumption from cooling leads to lower greenhouse gas emissions, supporting efforts towards a more sustainable environment.
Durability in Texas’s Climate
Texas experiences harsh weather conditions, making durability crucial for roofing materials. Cool roofs often have coatings that can withstand UV rays and thermal expansion/contraction caused by temperature fluctuations.
Maintenance Requirements
To maintain the effectiveness of cool roofs, regular cleaning of dirt and debris is necessary to preserve reflectivity. Inspections should be conducted after severe weather events to check for any wear or damage.
Choosing a properly installed cool roof offers a balance of performance, resilience, and economic advantage tailored for your home.
Cool-Roof Coating Options to Beat the Heat
When it comes to beating the scorching heat, choosing the right cool-roof coating is vital. Here are the top 5 cool-roof coatings that can help you combat the intense sun and keep your home cool:
1. Acrylic Reflective Coatings
Acrylic-based coatings are known for their excellent reflectivity, bouncing off a significant amount of sunlight and heat.
Benefits of Acrylic Reflective Coatings:
- UV Resistance: These coatings offer great UV protection, ensuring longevity and color retention.
- Flexibility: They can withstand the thermal expansion and contraction common in Texas’s fluctuating temperatures.
Maintenance Tips for Acrylic Reflective Coatings:
- To maintain optimal reflectivity, regular cleaning is a priority.
- Periodic inspections and touch-ups can help preserve the coating’s effectiveness in reflecting heat away from your home.
2. Silicone Roof Coatings
Silicone roof coatings are another popular option for cool roofing. These coatings are known for their durability and resistance to harsh weather conditions.
Benefits of Silicone Roof Coatings:
- Waterproofing: Silicone coatings create a seamless, waterproof barrier that prevents leaks and water damage.
- UV Resistance: Similar to acrylic coatings, silicone coatings also offer excellent UV protection, preventing degradation from sun exposure.
- Flexibility: Silicone coatings remain flexible even in extreme temperatures, allowing them to expand and contract with the roof without cracking.

Maintenance Tips for Silicone Roof Coatings:
- Clean the surface regularly to remove dirt, debris, and algae growth.
- Inspect the coating periodically for any signs of damage or wear.
- Perform touch-ups as needed to maintain the integrity of the coating.
3. Elastomeric Coatings
Elastomeric coatings are another effective solution for reducing heat absorption in roofs. These coatings are made from elastic materials that can stretch and contract with temperature changes.
Benefits of Elastomeric Coatings:
- Energy Efficiency: Elastomeric coatings have high solar reflectance properties, which means they can reflect a significant amount of sunlight away from the roof.
- Crack Bridging: The elastic nature of these coatings allows them to bridge small cracks and imperfections in the roof surface, preventing water intrusion.
Maintenance Tips for Elastomeric Coatings:
- Clean the roof surface before applying any new coats of elastomeric coating.
- Inspect the coating regularly for any signs of cracking or peeling.
- Reapply coats as necessary to guarantee continued effectiveness.
4. Polyurethane Coatings
Polyurethane coatings are known for their durability and resistance to foot traffic and mechanical damage. These coatings can provide long-lasting protection for roofs exposed to heavy use.
Benefits of Polyurethane Coatings:
- Impact Resistance: Polyurethane coatings have excellent impact resistance, making them suitable for roofs that experience regular foot traffic or equipment placement.
- Chemical Resistance: These coatings also offer good resistance to chemicals and oils, making them ideal for industrial or commercial applications.
Maintenance Tips for Polyurethane Coatings:
- Clean spills or stains promptly to prevent long-term damage.
- Inspect the coating periodically for any signs of wear or deterioration.
- Repair any damaged areas as soon as possible to prevent further degradation.
5. Ceramic-Based Coatings
Ceramic-based coatings are an innovative solution for cool roofing that combines traditional roofing materials with advanced technology.

Benefits of Ceramic-Based Coatings:
- Insulation Properties: The ceramic particles in these coatings provide additional insulation benefits, reducing heat transfer into the building.
- Eco-Friendly: Ceramic-based coatings are often made from sustainable materials and have low VOC (volatile organic compound) content, making them environmentally friendly options.
Maintenance Tips for Ceramic-Based Coatings:
- Clean the roof surface regularly to remove dirt and debris that may hinder reflectivity.
- Inspect the coating periodically for any signs of chipping or flaking.
- Reapply coats as necessary to maintain insulation properties.
Comparing Popular Cool Roofing Materials Complementing Coatings in Texas Climate
Choosing the right roofing material is as critical as selecting a cool roof coating, especially in Texas, where heat and weather extremes demand durability and efficiency.
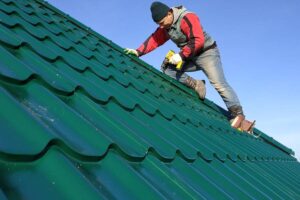
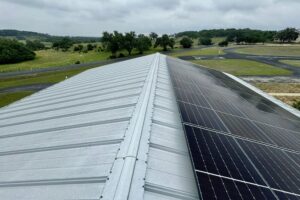
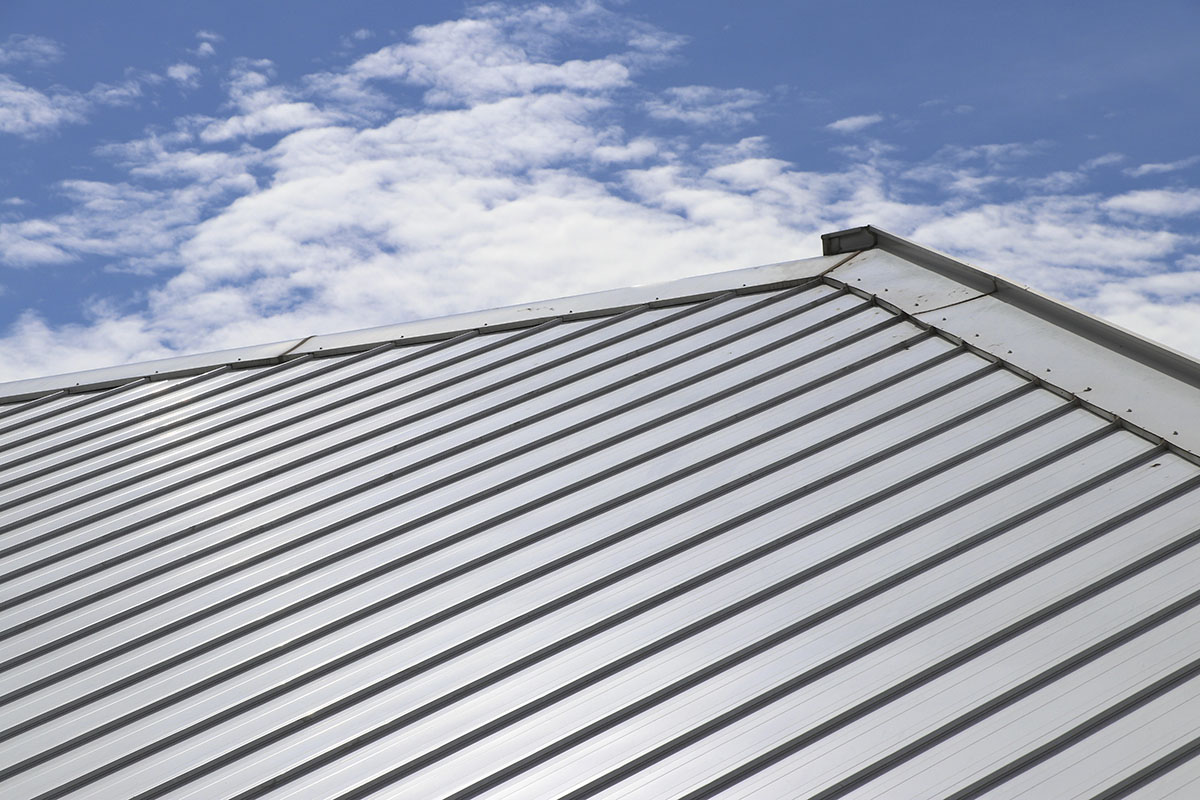
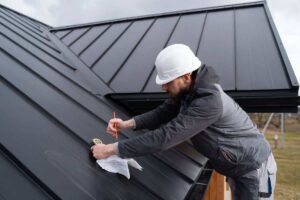
Metal Roofing
Metal roofs stand out for their natural reflectivity. When paired with heat-resistant paint coatings, they can reduce heat absorption. This combination extends the roof’s lifespan while providing excellent resistance to fire—a vital feature for many parts of Texas prone to wildfires. The lightweight nature of metal also means less structural stress on your home, helping maintain integrity over time.
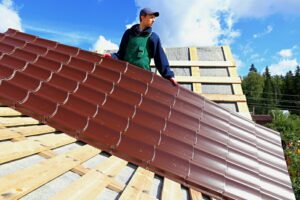
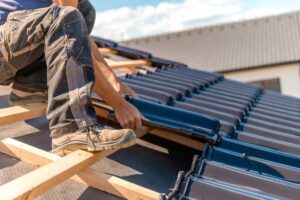
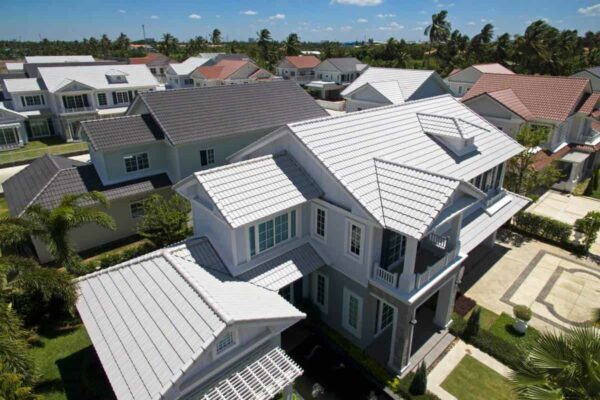
Tile Roofing
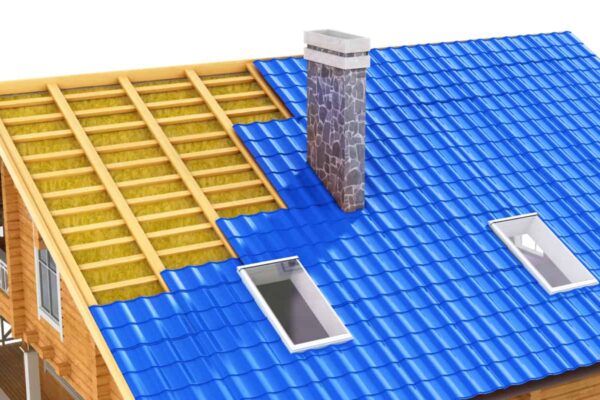
Clay and concrete tiles offer a different cooling strategy through their thermal mass. These materials absorb heat during the day and slowly release it at night, effectively regulating indoor temperatures without rapid fluctuations. Their inherent durability resists cracking under intense sun exposure and high winds typical of Texas weather. Additionally, both clay and concrete tiles are fire-resistant, supporting safer homes in fire-prone areas.
Slate Roofing
Slate roofing is a premium choice combining longevity with robust protection. With lifespans extending up to 150 years, slate resists UV damage and fire, enhancing the cooling effect by maintaining an intact reflective surface over decades. Its dense composition acts as an additional barrier against heat transfer, contributing to cooler interiors even during peak summer months.
Economic and Environmental Impact of Installing Cool Roofs
1. Energy Savings with Cool Roofs
The upfront cost of installing cool roofs is offset by long-term savings on electricity bills. By reducing the need for air conditioning, homeowners can see a big decrease in their energy expenses over time.
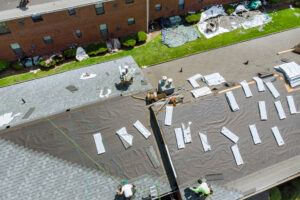
2. Cost of Cool Roof Installation
While the initial investment for cool roof installation may be higher compared to traditional roofing materials, the economic benefits in terms of energy savings make it a worthwhile long-term investment for homeowners.
3. Environmental Impact of Cool Roofs
Cool roofs reduce the urban heat island effect in cities like Austin and Port Arthur. By reflecting sunlight and absorbing less heat, they help lower overall temperatures and contribute to a more sustainable environment.
4. Energy Bills Reduction
Installing cool roofs not only leads to energy savings for homeowners but also contributes to broader environmental goals by reducing greenhouse gas emissions. This sustainable choice can have a positive impact on both individual households and the community at large.
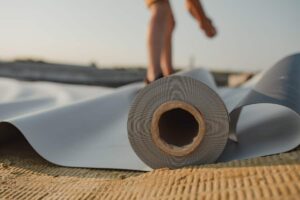
Installation Tips and Maintenance Best Practices for Cool Roofs
When it comes to installing and maintaining cool roofs, there are several important factors to consider. Here are some expert tips and best practices to maintain longevity and effectiveness of your cool roof:
1. Choose Certified Local Roofing Companies
Look for certified local roofing companies that have experience in installing cool roofs and are familiar with the specific requirements of hot climates like Texas.
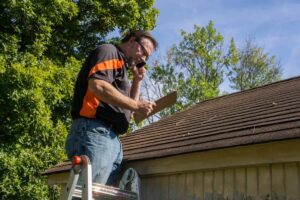
2. Schedule Regular Inspections
Regular inspections are essential to identify any potential issues with your cool roof before they become major problems. Consider incorporating drone technology into your inspection routine for a more thorough and efficient assessment. Drones can easily access hard-to-reach areas and provide detailed imagery, allowing for early leak detection and timely repairs.
3. Establish Cleaning Schedules
To preserve the reflectivity of your cool roof coating and prolong its lifespan, it’s important to establish regular cleaning schedules. Over time, dirt and debris can accumulate on the surface of the roof, reducing its ability to reflect sunlight and maintaining energy efficiency. Depending on the surrounding environment, plan for periodic cleanings using appropriate methods that won’t damage the coating material.
Your Cooler Texan Home Starts Here
It’s critical to strike a balance between the initial investment in cool roof coatings and the long-term benefits they offer. While there may be a higher upfront cost, the comfort, cost savings, durability, and environmental advantages make it a worthwhile investment for Texas homeowners.
To make the right choice for your home’s roof material in the Texas climate, it’s recommended to consult with trusted local experts. We can provide valuable insights and help you optimize your home cooling strategies with effective roofing solutions tailored to your specific needs.
Remember, the best cool roof coatings for beating the heat are those that not only keep your home cool but also contribute to long-term energy savings. By choosing the right roof material and coating, you can enjoy a more comfortable living space while making a positive impact on your finances and the environment.
Frequently Asked Questions About Cool Roofs
What is a cool roof and how does it benefit homes in Texas?
A cool roof is designed with reflective materials that reflect sunlight and absorb less heat, effectively reducing indoor temperatures. In Texas’ hot climate, cool roofs lessen the strain on air conditioning systems, leading to energy savings and enhanced comfort.
How do cool roof coatings contribute to energy efficiency and environmental sustainability in Texas?
Cool roof coatings increase solar reflectance and thermal emissivity, which reduces indoor cooling demands and lowers electricity bills. This energy efficiency helps mitigate the urban heat island effect in cities like Austin while decreasing greenhouse gas emissions, supporting broader sustainability goals.
What roofing materials complement cool roof coatings effectively in the Texas climate?
Metal roofing with heat-resistant paint offers natural reflectivity and fire resistance; clay and concrete tile roofing provide thermal mass that regulates indoor temperatures; and slate roofing delivers exceptional durability with UV and fire resistance. These materials paired with reflective coatings optimize cooling performance in Texas homes.
What are the best maintenance practices for ensuring longevity of cool roofs in hot climates like Texas?
Regular cleaning to maintain coating reflectivity is essential. Homeowners should schedule periodic inspections—potentially using drone technology—for early leak detection. Engaging certified local roofing companies ensures quality installation and ongoing maintenance tailored to Texas’ harsh weather conditions.
Are cool roofs cost-effective despite initial installation expenses for homeowners?
While upfront installation costs may be higher compared to traditional roofs, cool roofs offer long-term savings through reduced air conditioning use and lower energy bills. Their durability and environmental benefits contribute to overall value, making them a wise investment for Texas homeowners seeking comfort and sustainability.
from: https://mydividedsky.com/top-5-cool%e2%80%91roof-coatings-to-beat-the-texas-heat/